Standby Generator Installation in Naperville
Sizing, fuel, the transfer switch, permits and the actual timeline — what goes into putting a whole-home standby generator on a Naperville house, from the first visit to the final load test.
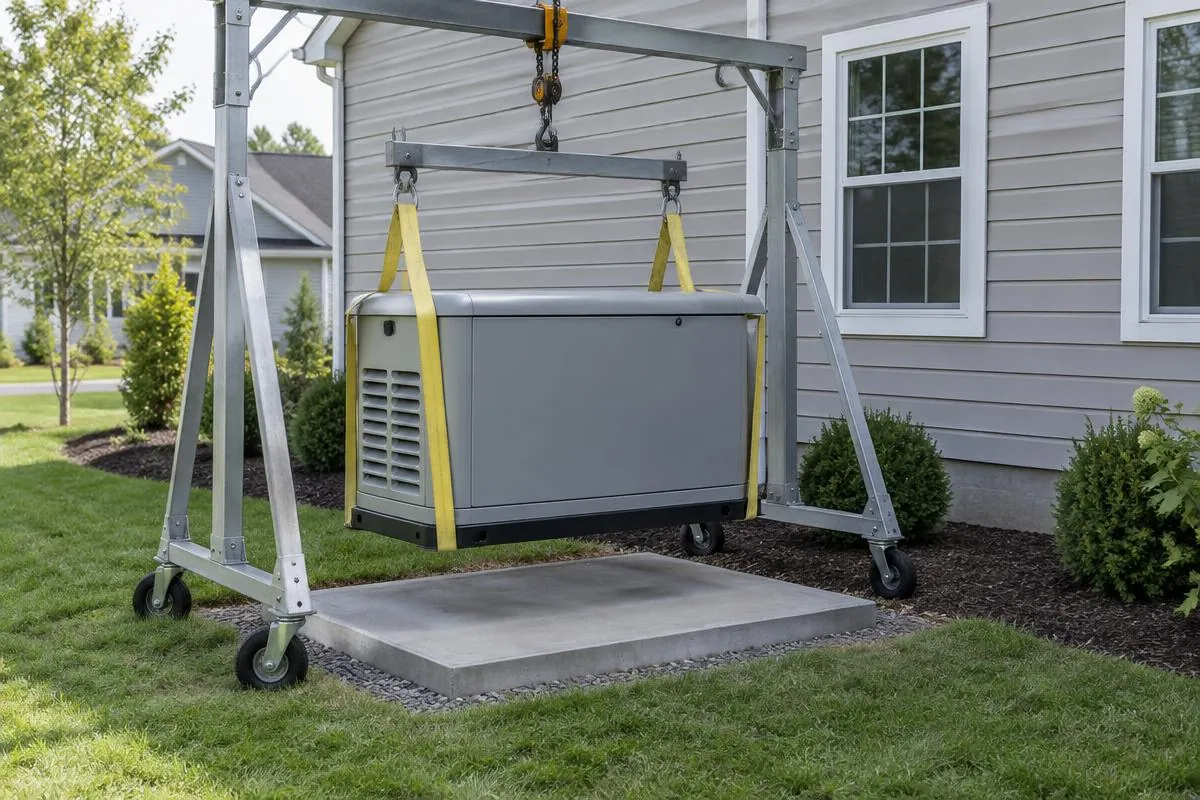
Generator sizing: what the kW number means
Capacity is rated in kilowatts. The size you need isn't a guess from your square footage — it's the total of the things you want powered, plus the surge each motor takes when it starts.
Essentials
Furnace or air handler, sump pump, fridge, a few lights and outlets, modem and router. The right size when you want the house safe, not fully lit.
Apartments, small homes, or a panel that can't take a larger feeder.
Most Naperville homes
Everything above plus a central air conditioner on a smaller load, most of the small appliances, and the outlets you actually use during an outage.
The usual recommendation for a 1,500–3,000 sq ft house on a 200 A service.
Whole house
Central AC running normally, electric range or dryer, well pump, multiple baths, hot tub, EV charging on a reduced schedule. Nothing gets switched off.
Larger homes, homes with electric heat or a pool, or anyone who wants no decisions made for them.
What the installer actually counts
During the visit the installer goes through your panel circuit by circuit and writes down the loads that have to run. Start-up surge is what decides the size more often than running watts.
What size do I need? — full answerFurnace / air handler
Runs the blower; on gas heat it's mostly the fan.
Central air conditioner
The biggest single draw. Size drops a lot with a soft starter.
Sump pump
The reason most people call us. Counts even in winter.
Refrigerator / freezer
Compressor surge on start-up is what matters, not the running watts.
Well pump
If you have one, it can swing the whole calculation.
Electric range, dryer, water heater
Each is large enough to change the size on its own.
Electronics and lights
Small individually, but they add up across a whole house.
A unit that's too small is the expensive mistake. It trips during the one outage you needed it, and the fix is a new generator, not a setting. Oversizing costs a little more up front and is otherwise harmless.
Fuel options: natural gas or propane
Both run the same generator. The difference is where the fuel comes from and how long it lasts.
Natural gas
The default choice for most homes in our service area.
- Uses the gas service already at the house — no tank, no delivery truck, no refueling.
- Runs as long as the outage lasts; the fuel doesn't run out.
- The meter and the line have to be sized for the generator's cubic-feet-per-hour demand, which the installer checks on the visit.
- If the gas itself goes down, the generator goes down with it — rare, but it's the one real weakness.
Best for: Homes with existing gas service and a meter that can handle the load.
Propane
Where there's no gas main, or where you want fuel you own.
- Stored in an on-site tank, so it's still available when the gas and water networks aren't.
- Delivers slightly more energy per gallon than piped gas, so units often run a little harder on it.
- The tank has to be placed to code clearances and, in most towns, permitted and inspected too.
- Runtime is finite: a 500-gallon tank is a few days of normal operation, so large outages mean a delivery.
Best for: Homes outside the gas service area, or anyone who wants fuel on the property.
Whichever you pick, the line and the meter or tank have to be able to feed the unit at full load. That's a measurement the installer takes on the visit, not something to find out at startup.
The transfer switch
This is the box that makes a standby generator automatic. It sits between your utility meter and your electrical panel, watches the incoming voltage, and when power drops it starts the generator and moves your house over to it — usually within seconds.
The part that matters for safety is the isolation. The switch physically disconnects your home from the utility lines so backfeed can't energize a line a crew is working on, and so the generator can't be damaged when the grid comes back. That's why it's required by the National Electrical Code and by the electric utility, and why Naperville requires an approved transfer switch and an outdoor service disconnect on every installation.
Manual switches exist and cost less, but you're the one going outside in the storm. Automatic is what almost everyone installs.
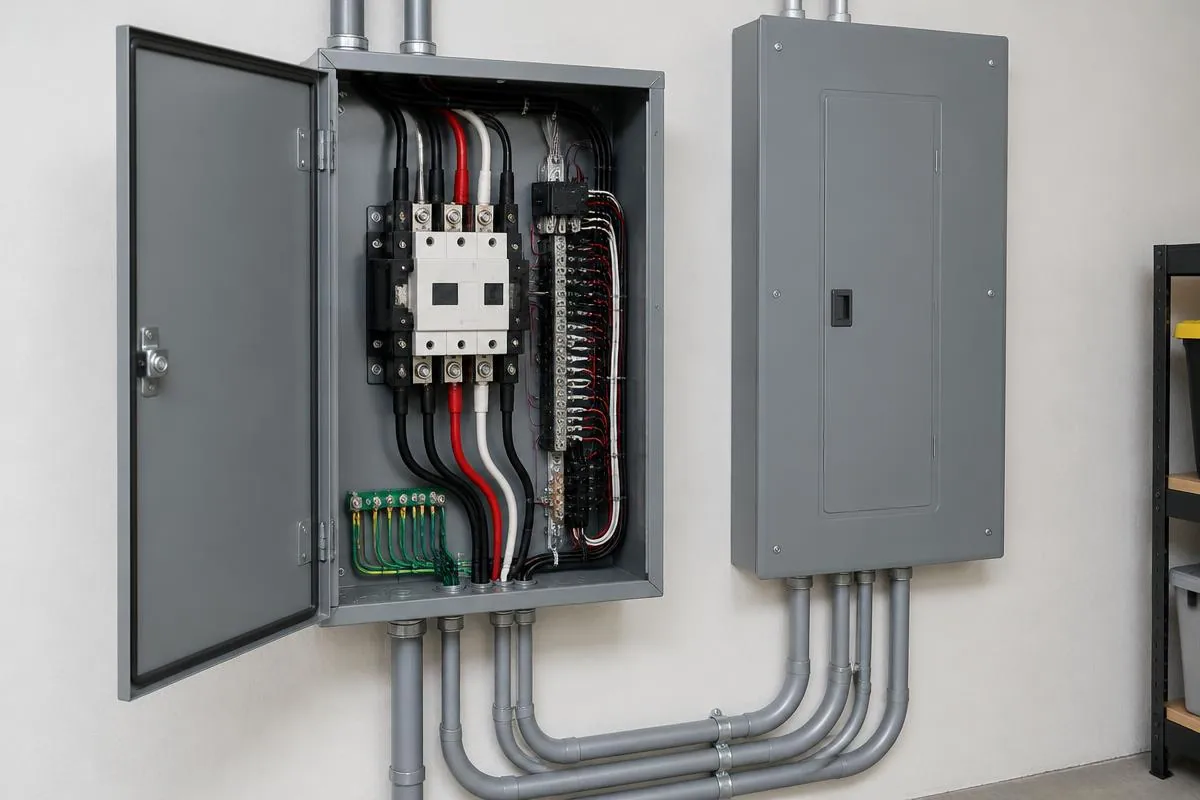
- 1Grid powerUtility power is live at your meter.
- 2Outage sensedThe switch watches the incoming voltage and sees the drop.
- 3IsolatedYour home is physically disconnected from the utility lines.
- 4Generator startsThe unit fires, warms up, and takes the load.
- 5RestoreGrid power returns, the switch transfers back, the unit cools down and stops.
Permits and inspections
A generator is permanent electrical and fuel work, so it's permitted. Who issues the permit depends on where your house sits. Inside Naperville city limits, the City of Naperville issues the permit and performs inspections — not DuPage or Will County. County approvals apply to unincorporated property outside city or village limits.
City of Naperville
Inside Naperville city limits, the City of Naperville issues generator permits and performs inspections, whether the property is in DuPage or Will County. A City permit is required before installation, and the electrical work must be performed by an electrician licensed in Naperville. The City's rules require an approved transfer switch and an outdoor service disconnect. Applications are submitted online through the City's Civic Access portal.
The installer pulls the permit and coordinates the inspections.
DuPage County
The County Building & Zoning Department issues permits for unincorporated property; homes inside an incorporated city or village are permitted by that municipality instead. For a generator on county land, expect a scaled plat of survey showing the pad in its exact location with dimensions to the nearest lot lines, and the manufacturer's specification sheet showing a recognized listing mark such as UL, ETL or CSA. Inspections are scheduled against the permit.
The installer confirms which authority your address falls under.
Will County
Will County's Land Use Department handles building work in unincorporated areas, while villages such as Plainfield and Bolingbrook run their own building departments and issue their own permits and inspections. Requirements and fees differ town to town, so the submittal is built for the jurisdiction your house is actually in.
The installer handles the submittal wherever you are.
What a submittal usually needs
- Site plan or plat of survey showing the generator location and clearances to lot lines and openings
- Electrical details for the transfer switch and the outdoor service disconnect
- Gas line sizing and connection details for natural gas or propane
- Manufacturer specification sheet for the unit, showing its listing mark
- Contractor licensing and registration for the electrical and gas work
Why it's never skipped
During required utility work, Naperville's rule allows utility workers to disconnect service if they reasonably suspect an unreported generator is operational on the property. An approved transfer switch isolates the home from utility lines to prevent dangerous backfeeding. The permit also puts inspections on the record, which is your proof the gas line and the isolation were checked.
The installer prepares the drawings, files them, builds the fees into the quote, and schedules the inspections. You don't chase the building department.
Ask about your address →The installation timeline
The physical install is usually one or two days. Everything around it — quote, permit review, meter change, inspection — is what decides when you're actually done. From approved quote to commissioned unit, plan on a few weeks.
Call and site visit
Days 1–3
The installer talks through what you want powered, then comes out to look at the panel, the gas meter, the meter's capacity, and where the unit can sit and still meet clearance rules.
Load calculation and written quote
Within a week of the visit
The installer adds up the loads that matter, picks the size and the transfer switch, and hands you an itemized written quote — unit, pad, gas work, electrical work, permits, startup.
Permit submittal and review
1–3 weeks, varies by town
The installer submits the drawings and equipment specs and answers whatever the reviewer asks for. This is the step that sets the pace, and it's the one homeowners underestimate.
Delivery and pad
A half day, plus cure time
The pad is formed and poured or a prefabricated base is set, then the generator is delivered and placed on it. Concrete needs time to cure before the unit is anchored and loaded.
Fuel line
A few hours
The gas line is run from the meter or tank to the unit, sized for the generator's demand, pressure-tested, and inspected where the jurisdiction requires it.
Electrical and transfer switch
A few hours
The outdoor service disconnect goes in, the transfer switch is mounted and wired to your panel, and the generator is connected. This is the work that keeps the house isolated from the grid.
Startup, inspection and walkthrough
Same day or the next
The installer starts the unit, runs it under load, confirms it transfers off and back on schedule, walks you through the controls and the exercise cycle, and closes out the permit with the final inspection.
The two things that move the date: how fast the reviewer comes back, and whether your gas meter has to be replaced. The installer flags both during the visit so you're not surprised later.
What to expect on install day
One day, the installer's own crew, and no surprises if you've read this. Here's the order things happen in.
- 1The installer's crew arrives with the unit, the pad or base, and the fittings for your specific job — you don't need to be home, but someone should be.
- 2The installer's crew blocks off the work area and protects the walk, the lawn and the siding where the line has to run.
- 3The pad is prepared and the generator is set and anchored in the spot the installer marked during the visit.
- 4The gas line is run and pressure-tested; on gas service the meter may have to be swapped for a larger one, which is the utility's job and takes a separate appointment.
- 5The outdoor disconnect and transfer switch are installed and wired to your panel; there's a short power interruption while the switch lands.
- 6The unit is started, put under real load, and watched through a full transfer — off on simulated outage, back on when power returns.
- 7The installer shows you the exercise cycle, the exercise schedule, where the exercise schedule is set, what the indicator lights mean, and who to call.
- 8The area is cleaned up, the packaging goes with the installer's crew, and the final inspection is scheduled or closed out.
Next step: a site visit and a written quote
The installer we match you with looks at the panel, the meter and the spot the unit would sit, then gives you an itemized price with the permits in it. No number gets quoted sight-unseen.
- Sizing from your actual loads
- Permits and inspections handled
- Timeline you can plan around
More to read
- Standby generator cost in Naperville — what drives the price and what an itemized quote includes.
- Standby generator questions, answered — sizing, noise, permits and maintenance.
- Contact us — book a site visit or ask about your address.